
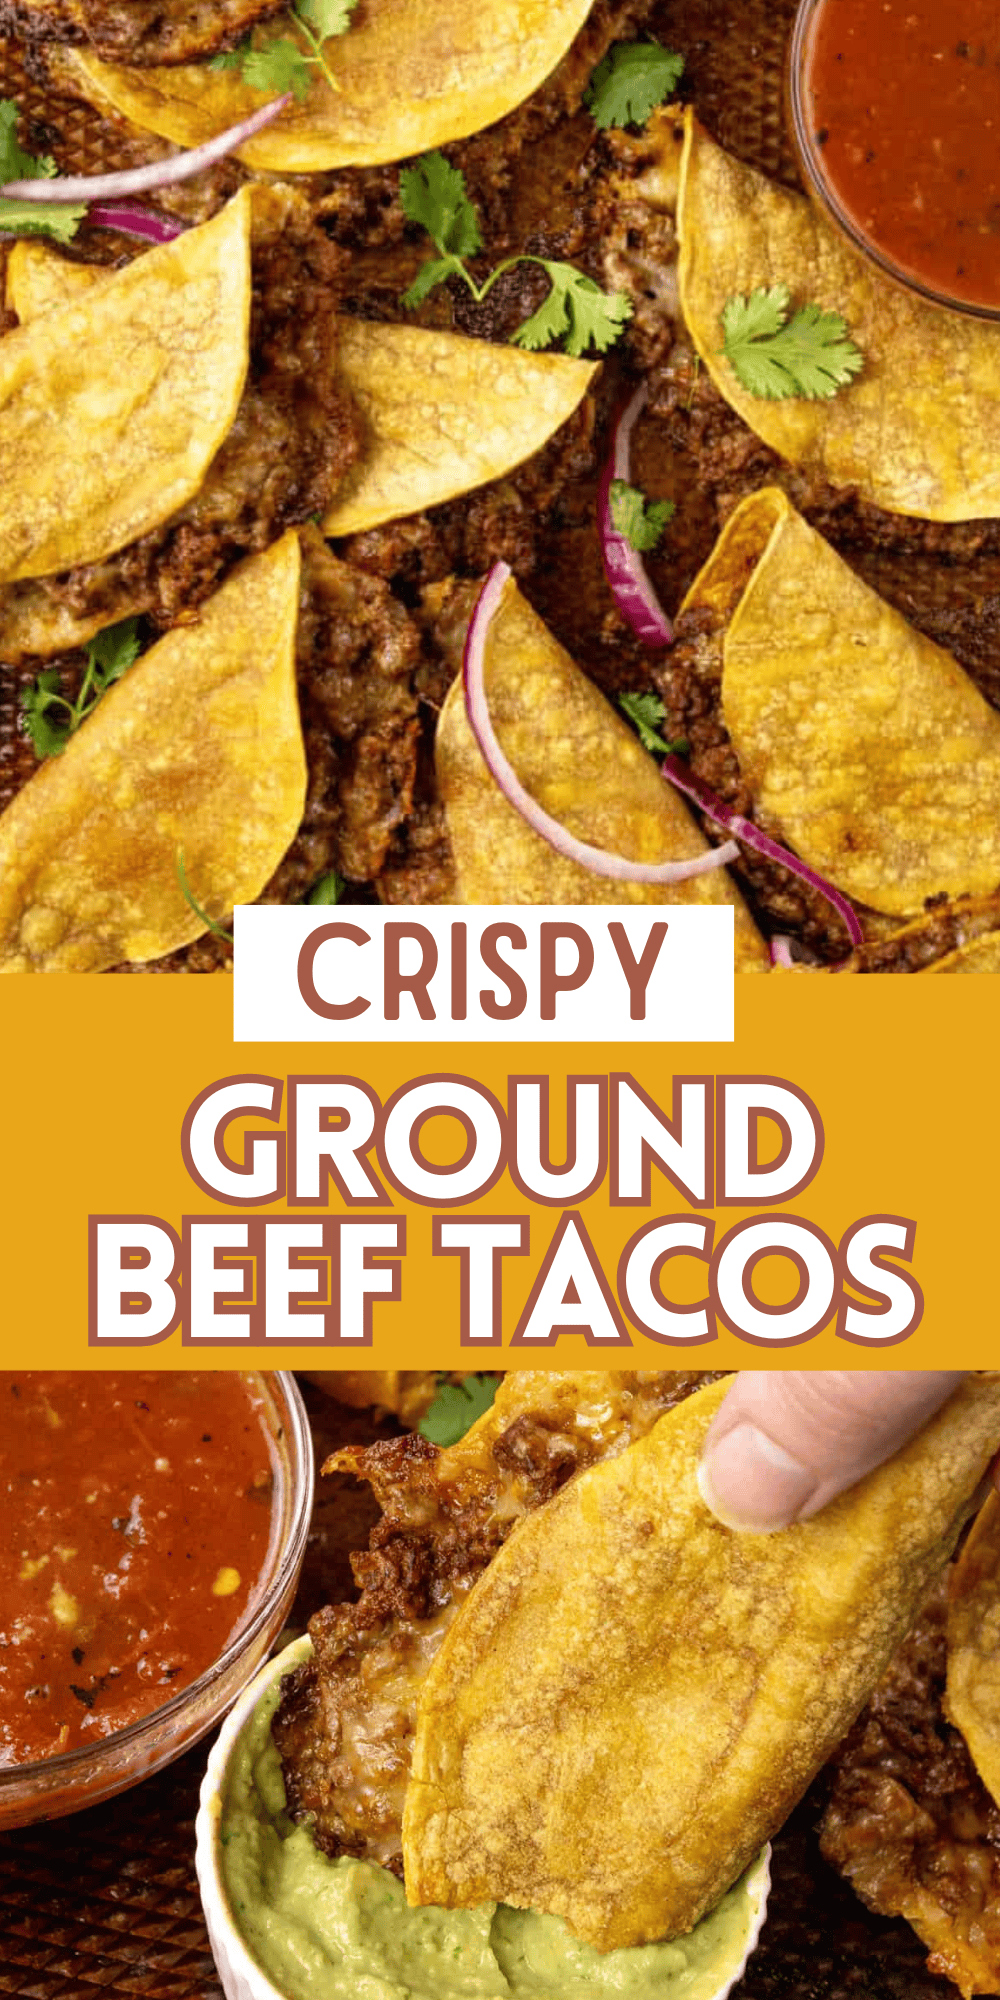

These Crispy Baked Beef Tacos are so good and only take 35 minutes. You'll need ground beef, taco seasoning, cheese, enchilada sauce, corn tortillas, and oil. The whole family will love dipping them into salsa, guacamole, or sour cream.
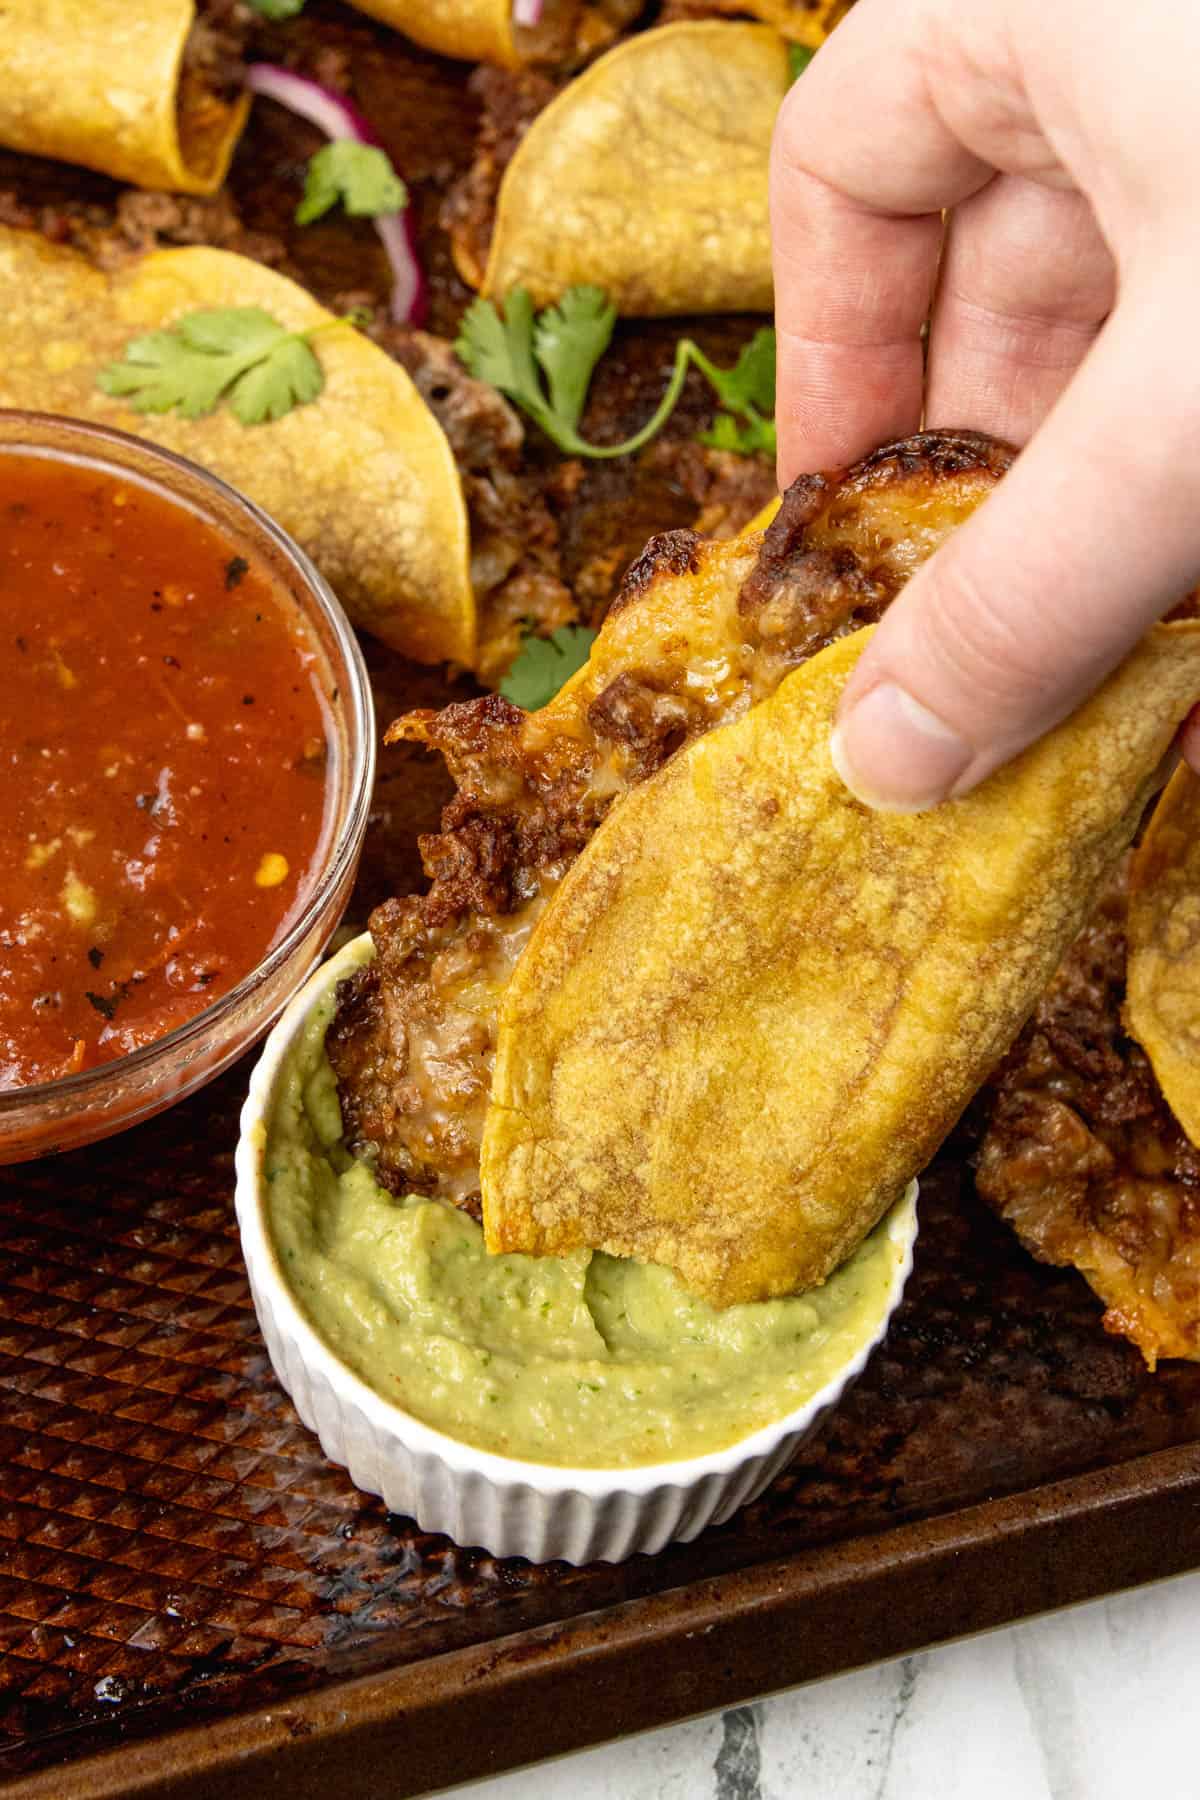
If you love these, don't miss my Crispy Chicken Tacos or the Buffalo Chicken Taco versions!
Ingredients & Substitutions
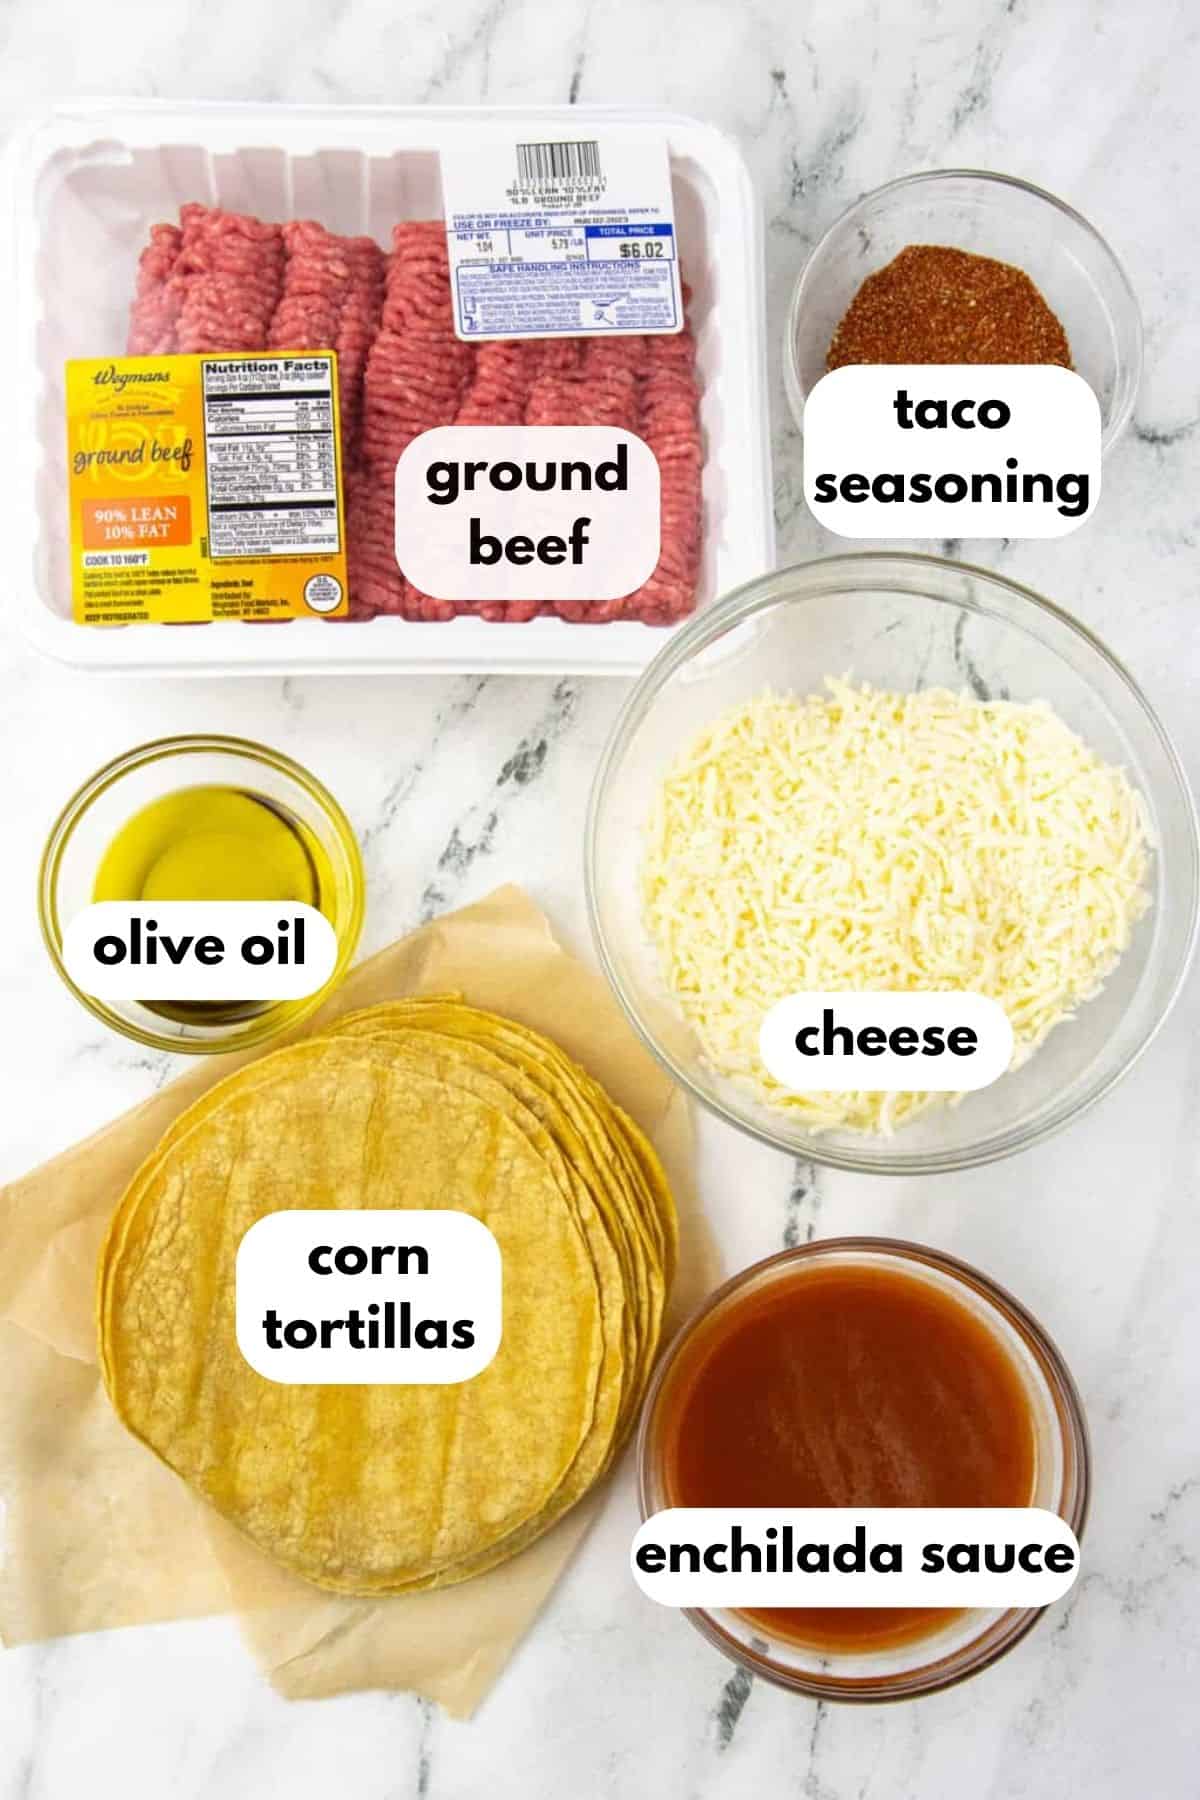
- Ground Beef: I used lean 90% ground beef, so there's no need to drain excess fat. I haven't tested this recipe with a fattier blend like 80/20, but it should still work well here, just plan on draining the extra grease so the filling doesn't get the tortillas soggy. You can also use ground chicken or ground turkey.
- Taco Seasoning: You can use store-bought or my Homemade Taco Seasoning.
- Enchilada Sauce: You can use your favorite red enchilada sauce or make my Homemade Enchilada Sauce and freeze the leftovers!
- Cheese: I used Oaxaca cheese for these tacos. It's a mozzarella-like cheese that melts perfectly. I find it gives the filling a creamier texture than cheddar or a Mexican blend, which tend to melt a little firmer. You can also use Monterey Jack, Cheddar Cheese, or a Mexican Cheese Blend.
- Olive Oil: Brush (or spray) olive oil on the tortillas so they don't stick to the pan. This also helps with the crispiness. Avocado oil and vegetable oil also work.
- Corn Tortillas: I prefer corn tortillas for their flavor and texture, but you can use flour. If you use flour, reduce the baking time by 4-6 minutes and oil them well to prevent sticking.
Full ingredient list with quantities in the recipe card below
My family loved it, super easy and fast to make
- Anonymous
How to Make Crunchy Beef Tacos
Step 1 | Cook Ground Beef
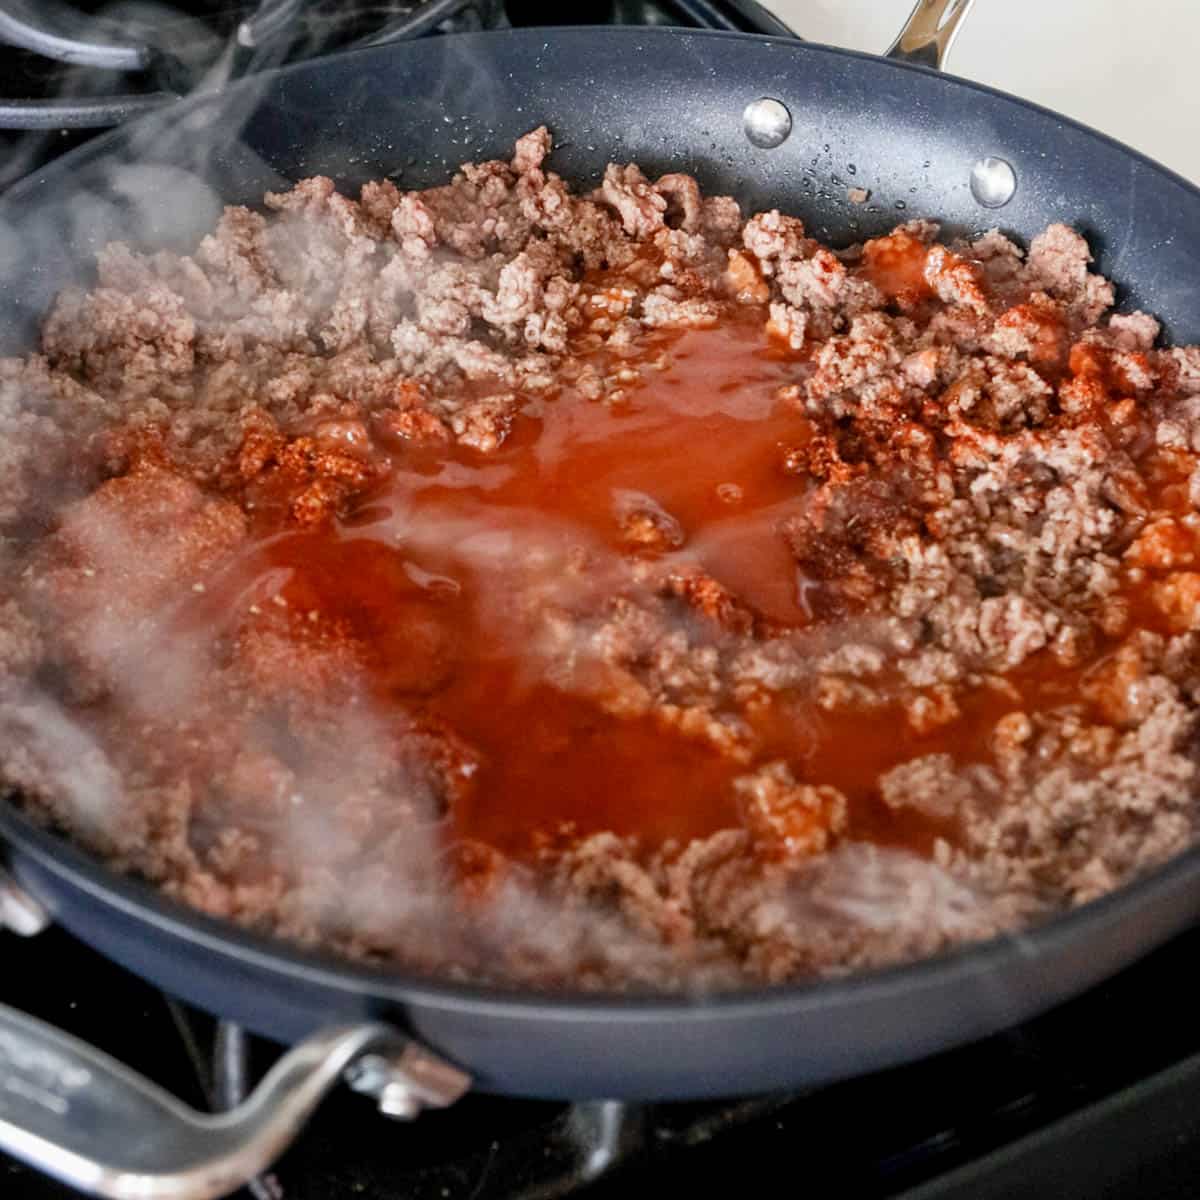
Brown ground beef in a skillet over medium-high heat. Stir in taco seasoning and enchilada sauce. Simmer for a few minutes, then remove from heat.
Step 2 | Warm up Tortillas
Wrap tortillas in a damp paper towel and microwave for 30-60 seconds until pliable. Brush one side with olive oil. I've skipped this step before when I was in a hurry, and the tortillas cracked as soon as I tried to fold them, so don't skip it!
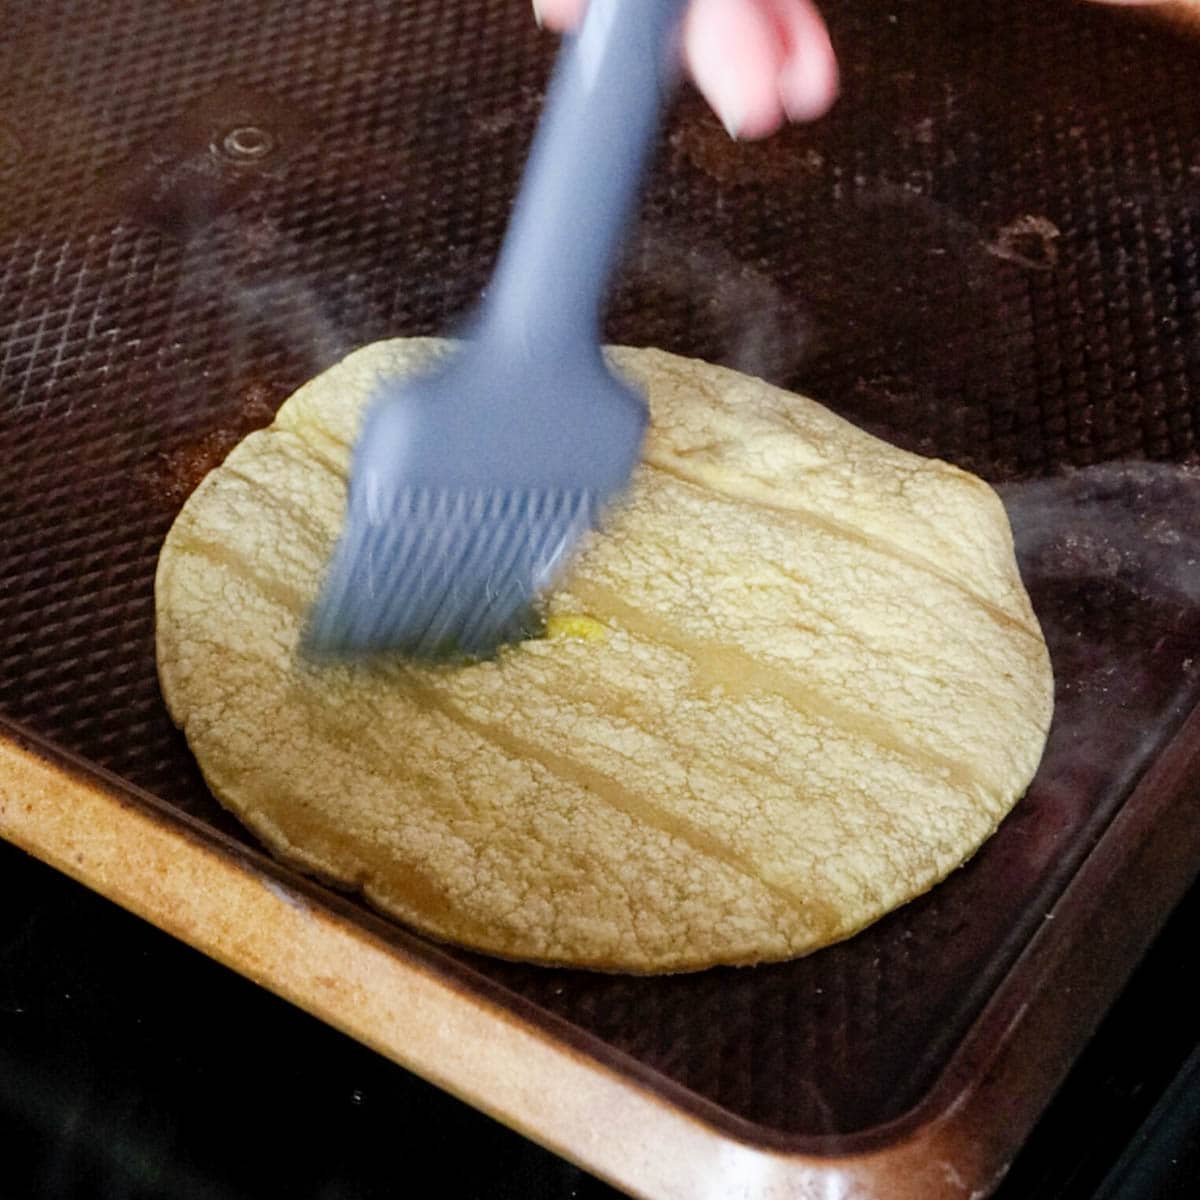
Step 3 | Assemble
Place tortillas oiled-side down on a baking sheet. Add shredded cheese, taco meat, and more cheese on one side. Fold over the tortilla.

Step 4 | Bake Crunchy Beef Tacos
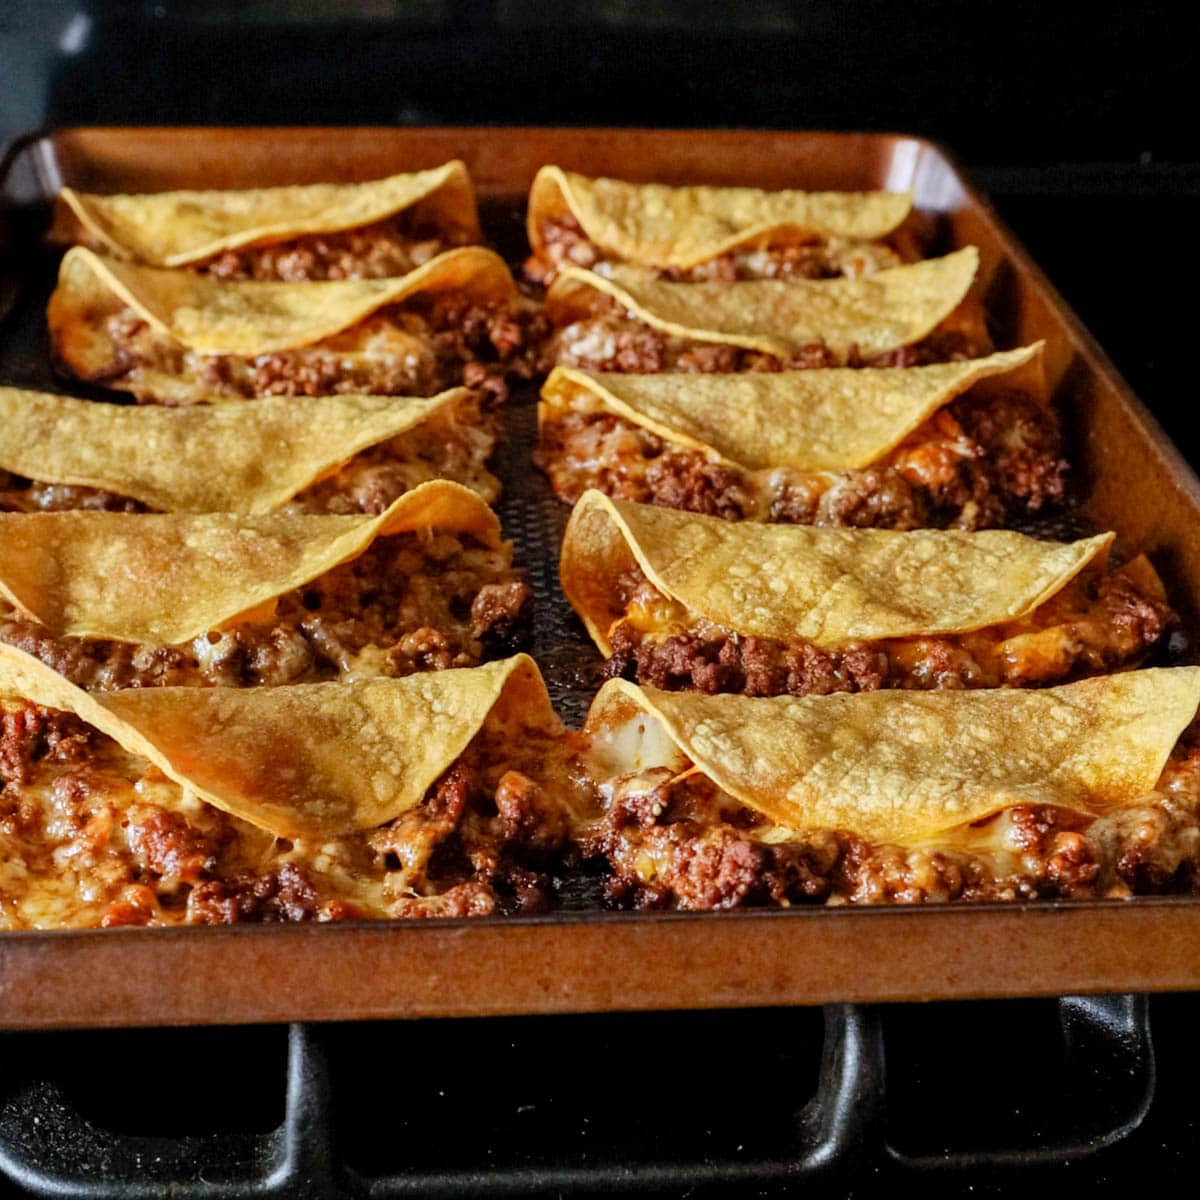
Bake at 450°F for 16 minutes until golden and crispy. Serve with your favorite dips and toppings!
Tip
Bake on a nonstick or ceramic sheet pan for the best results. Foil can cause the tortillas to stick.
Warm tortillas before filling to help them stay folded. If needed, secure them with toothpicks.
Let the tacos sit for a minute before serving. This keeps the shell nice and crisp instead of going soft from trapped steam.
Favorite Taco Toppings & Sauces
These crispy beef tacos are great on their own, but toppings take them over the top. Some of our favorites:
- Queso- If you feel indulgent, this melted cheese sauce will take your tacos to the next level.
- Guacamole- The rich, creamy avocado pairs perfectly with the savory ground beef and crispy corn tortillas.
- Sour Cream- Cool and tangy, it balances the spice and richness while adding a creamy finish to every bite.
- Pico de Gallo- Fresh and zesty, Pico de Gallo adds flavor with every bite. Homemade Pico de Gallo is much more flavorful than anything in the store.
- Salsa- Pick your favorite variety and spice level, from mild to fiery.
Recipe Questions
Make sure they're warm enough before folding. Cold tortillas are prone to cracking. If needed, secure them with a toothpick while baking.
Yes! They bake faster than corn tortillas. Reduce the baking time by 4-6 minutes and oil them well to prevent sticking.
Transfer them to a wire rack instead of leaving them on the baking sheet. This keeps steam from building up underneath and softening the shell.
Yes, you can cook the beef filling up to 3 days ahead and store it in the fridge. Reheat it before assembling and baking the tacos.
Reheat them in the oven or a toaster oven instead of the microwave. A few minutes at 350°F will bring back the crunch, while the microwave will make them soft.
This usually happens when the tortillas are not warm enough before folding, or when they are overfilled. Warm them well and go easy on the filling, and secure with a toothpick if needed.
Make It Ahead of Time!
- Assemble tacos as directed, but skip the oil. Arrange in a single layer on a baking sheet and freeze for 1 hour.
- Transfer to a freezer-safe bag or container.
- To bake, preheat oven to 400°F. Place frozen tacos on a baking sheet, brush with oil, and bake for 18-22 minutes until crispy and heated through.
My husband loves these tacos, and leftovers never last long in our house! Tried this recipe? Let everyone know how it turned out! Your feedback and tips help others decide if they should make it.
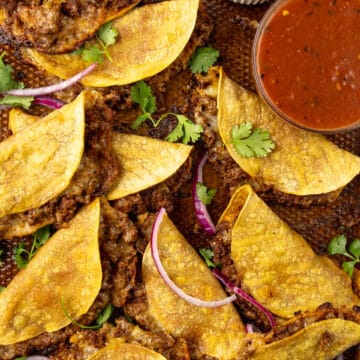
Crispy Beef Tacos (35 Minutes, 6 Ingredients!)
Ingredients
- 1 pound lean ground beef 90%
- 1 packet of taco seasoning
- ¾ cup red enchilada sauce
- 2 ½ cups Oaxaca cheese or Mexican cheese or Monterey Jack
- 10 corn tortillas
- 1 tbs olive oil
Instructions
- Preheat oven to 450F.
- Heat a skillet over medium-high heat. Brown the ground beef, breaking it up as it cooks. Stir in the taco seasoning and enchilada sauce. Bring to a simmer, then remove from heat.
- Wrap tortillas in a damp paper towel and microwave for 30-60 seconds until pliable.
- Brush one side of each tortilla with olive oil. Place the tortilla on a baking sheet, oiled side down. Add 2 tablespoons of cheese to half of the tortilla, top with ¼ cup of beef, then add 2 more tablespoons of cheese. Fold the tortilla over the filling.
- Repeat with the remaining tortillas and range the tacos in a single layer on your baking sheet.
- Bake for 16 minutes, or until tortillas are crispy and cheese is melted. Let tacos cool for 3 minutes before serving.
Notes
Nutrition
The nutritional information provided is an estimate and may vary based on the ingredients used.
Sides for Crispy Baked Beef Tacos
- Mexican Rice - It's the perfect side for tacos, and it only requires a few simple ingredients!
- Poblano Rice - It has a bold and unique flavor that pairs perfectly with these tacos.
- Mexican Fruit Salad - This fruit salad has fresh fruit, chamoy sauce, and Tajin seasoning, which balances the savory tacos.
Kristina omeara says
Can you freeze the extras?
Megan says
I haven't personally tried freezing them, but they should freeze well. When you're ready to reheat, I recommend using an air fryer at 375ºF for 5-6 minutes, or an oven at the same temperature for about 20-25 minutes. This should help keep them crispy and delicious!
Darlene says
Does aluminum pans work if you use parchment paper? I don’t have ceramic sheet pans.
Megan says
Parchment paper works! You may have to cook the tacos a little longer since you're using aluminum pans, and they don't retain heat as well as darker non stick pans pans.
A.S says
Can I use flour tortillas?
Megan says
I've made these with flour tortillas once. You'll want to cook the flour tortillas for less time (maybe 5-6 minutes on each side), and make sure you oil the tortillas well so they don't stick to the pan.
Connie Lillich says
why were my tortillas tough to chew ?
Megan says
It could be from not enough oil being used, the tortillas were older and dryer to begin with, or they were overcooked.
Tina Garrett says
Do I put the olive oil side down on pan?
Megan says
Yes, flip it so the oiled side is on the pan. Thanks for asking, I made the instructions clearer.
Liz says
What size corn tortillas do you recommend?
Megan says
I use the standard sized corn tortillas.
Kirsten P Johnson says
so dumb question. but am I supposed to fry the one side only on a pan. then put to a baking sheet to finish baking
Megan says
Not a dumb question at all! There's no need to fry them in a pan. The tacos will crisp up in the oven. You can flip them halfway through baking if you’d like, but I’ve found it’s not necessary.
Chad says
I added some hot peppers and onions to the meat, and I have to say that this has to be one of the best taco recipes that I have ever made.
Patty says
Delicious! I made these using ground chicken instead of beef. My husband and I loved them. Thanks for the great recipe!